
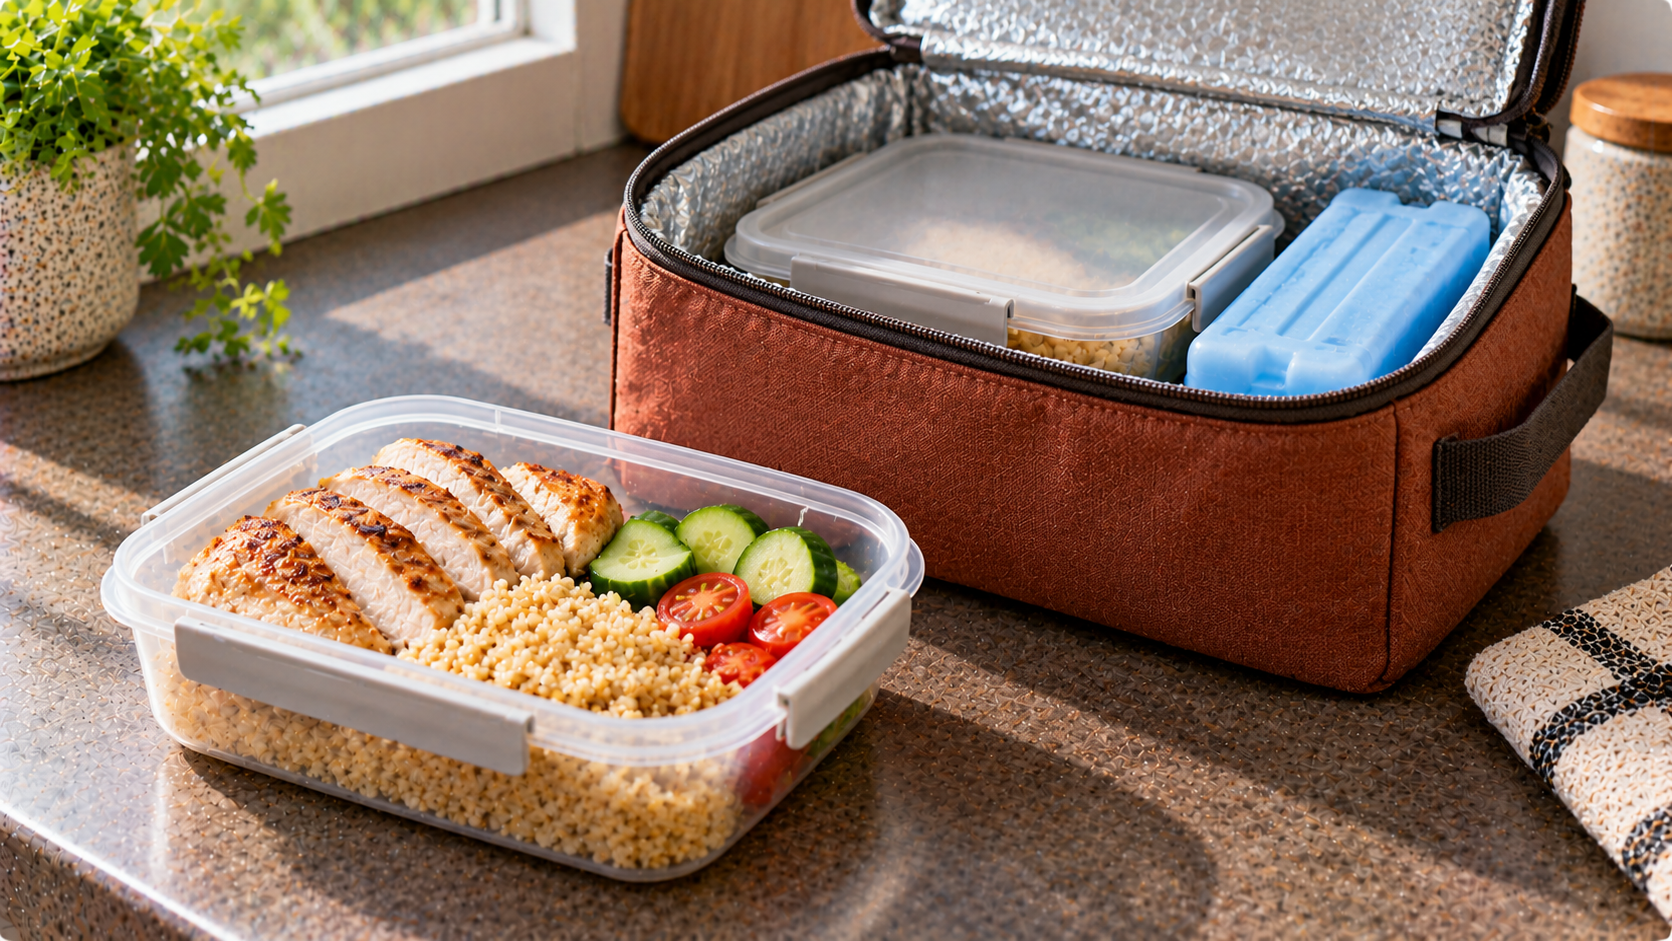
Packing lunch the night before can save time, but a cold lunch is safe only while food that needs refrigeration remains cold. The practical question is not whether a lunch bag has insulation: it is whether the chicken, cheese, eggs, yogurt, cooked grains or cut produce inside stays at an appropriate temperature until it is eaten. An insulated bag slows heat transfer; it does not produce cold air on its own.
For US readers, the USDA advises keeping perishable food at 40°F (4.4°C) or below and packing an insulated lunch bag with at least two cold sources. Germany's Federal Institute for Risk Assessment (BfR) recommends home refrigeration at no more than 7°C, preferably below 5°C, with product-specific colder requirements respected. These are different national reference points, not a promise that any lunch is safe for a fixed number of hours. USDA — Keeping Bag Lunches Safe · BfR — Refrigerating Foods at Home.
Quick decision: does your lunch need a cold chain?
| Packed food | Practical approach | Why |
|---|---|---|
| Cooked chicken, turkey, fish or meat sandwich | Refrigerate, then transport with cold sources | Cooked perishable protein needs temperature control |
| Egg salad, dairy dip, yogurt or soft fresh cheese | Keep chilled until serving | Moist protein-rich foods can support microbial growth |
| Cooked rice, pasta, quinoa or bean salad | Chill quickly after preparation and maintain cold transport | The food is cooked but not shelf-stable |
| Cut melon, cut fruit or ready-to-eat chopped salad | Keep cold, especially with other perishables | Cutting changes handling and contamination risk |
| Whole apple, banana, orange or intact carrot | Usually practical without refrigeration for a normal lunch period | Intact produce differs from cut and prepared items |
| Crackers, plain bread, unopened shelf-stable food | Follow the package; many need no cold source until opened | Shelf stability depends on the actual product |
A commercially packaged product explicitly marked shelf-stable can have different requirements from a homemade version. Once a package is opened or an item is mixed into a moist sandwich or salad, reevaluate storage rather than assuming the original label still applies. USDA — Food Safety While Hiking.
Pack a cold lunch in the correct order
Start with properly chilled food. If preparing dinner leftovers for lunch, divide cooked portions into shallow containers, cool them promptly, and refrigerate; do not put a steaming pot directly into a packed bag and expect ice packs to chill it safely during a commute. Chill the fillings, sandwiches and salads overnight where appropriate. Refrigerate the lunch container itself when possible.
Freeze two suitably sized gel packs overnight. The USDA's school-lunch advice suggests placing cold sources above and below perishable food, or using a gel pack together with a frozen drink. Use an insulated, soft-sided lunch bag, close it promptly, and fill empty space sensibly so cold items remain together. Frozen drinks may thaw by lunchtime; they are a cooling source, not a substitute for checking whether the food stayed cold. USDA — School Lunch Packing Essentials.
Pack immediately before leaving, not several hours earlier on the kitchen counter. Keep the bag away from direct sunlight, vehicle dashboards, radiators and warm windowsills. If a reliable refrigerator is available at the office or school, put the food there as soon as you arrive. Use the bag and cold sources for the journey; let the refrigerator provide the long-term chilling.
What two cold sources do—and do not—guarantee
Two cold sources are a practical packing recommendation, not a certification that every bag stays below 4.4°C until noon. Performance depends on pack size, starting temperature, bag quality, ambient temperature, the volume of food, how often the bag is opened and travel time. A small bag left in a hot car can warm much faster than one stored in a shaded, air-conditioned room.
For repeated journeys, test your actual setup using an appropriate food thermometer or small thermometer placed with the food: check at departure and at the intended eating time. If readings or conditions show the food was not kept appropriately cold, revise the arrangement rather than assigning an arbitrary five- or six-hour safe window. A thermometer measures the condition; it cannot undo unsafe time already spent warm.
The two-hour rule is not two hours of guaranteed bag life
USDA's general guidance says to discard perishable foods kept outside safe refrigeration for more than two hours, reduced to one hour when ambient temperature exceeds 90°F (32°C). That clock relates to time in unsafe conditions, not to total elapsed time since taking a well-chilled lunch out of the home fridge if it remained under proper cold control. Nor can someone add a fresh ice pack after hours of warmth and reset the clock. USDA — Safe Handling of Take-Out Foods.
| Situation | Safer decision |
|---|---|
| 30-minute commute; lunch moved to office fridge | Keep chilled on the trip and refrigerate on arrival |
| Four hours at a desk without a fridge | Use a validated insulated bag with frozen packs; otherwise choose shelf-stable foods |
| Bag forgotten in a sun-heated car | Do not rely on the bag's appearance or the presence of a thawed ice pack |
| Lunch was warm for several hours and time is uncertain | Discard perishable components; do not taste-test for safety |
| Food arrives cold but is put on a hot counter for lunch later | Put it back into reliable refrigeration or keep it under effective active cooling |
There is no safe rule of the form “two ice packs equal six hours.” Treat such advertised periods as cooler performance claims needing verification in your conditions, not food-safety guarantees.
Work, school and public transport: three realistic scenarios
An office with a refrigerator. Prepare and chill a chicken-and-grain salad the previous evening. Pack the container directly from the fridge between two frozen packs. During a 40-minute journey keep the insulated bag closed. On arrival, refrigerate immediately. At lunchtime, take out only the portion to eat. Clean the container after use and do not leave uneaten leftovers on the desk for the afternoon.
A classroom without a refrigerator. Start with a thoroughly chilled sandwich filling or yogurt. Pack two cold sources around the perishable part of the lunch and use a compact insulated bag. Ask whether the bag is kept in a shaded indoor place; conditions in a locker or on a hot school bus can vary. When reliable cooling cannot be provided, a sandwich made with shelf-stable ingredients, whole fruit and other appropriate nonperishables is a more robust option. For young children, keep steps simple and identify which items should be eaten first.
An outdoor shift or long commute. Sun exposure, physical activity and repeated opening make small lunch bags less predictable. Prefer a better-insulated cooler, additional frozen packs and a thermometer. Keep drinks in a separate compartment if opening the bag repeatedly. If you cannot demonstrate safe chilling through to lunchtime, plan an ambient-stable meal or buy refrigerated food at the destination and eat promptly.
What should you pack if there is no refrigerator?
Choose foods according to their actual storage instructions, not a generic “healthy lunch” label. Whole fruit, whole vegetables, nuts, crackers and unopened products clearly marked shelf-stable are often simpler to manage. Peanut butter with jam on plain bread may be practical, provided the ingredients and packaging are suitable; some prepared sandwiches or fillings still require chilling. An unopened shelf-stable tuna pouch is different from opened tuna mixed with mayonnaise. Once assembled with perishable ingredients, the whole lunch may require refrigeration.
| Lunch idea | Cooling decision |
|---|---|
| Whole fruit, whole-grain crackers and unopened shelf-stable nut spread | Check labels; often feasible without active cooling |
| Overnight oats with milk or yogurt | Keep refrigerated/cold until eating |
| Chicken wrap with salad and yogurt sauce | Cold chain required |
| Pasta salad with cooked pasta, cheese and cut tomatoes | Chill the prepared dish and use cold transport |
| Unopened shelf-stable beans plus intact vegetables | Follow package instructions; after opening, storage changes |
Do not use a recipe's lack of meat as evidence it is shelf-stable. Cooked vegetables, grains, legumes and cut produce can still be perishable once prepared.
If you are deciding what to bring to work, the collection of healthy lunch recipes for work offers meal ideas. Apply the storage instructions for each recipe rather than assuming every lunch is safe without refrigeration.
Container hygiene and avoiding cross-contamination
Start with clean hands, cutting boards, utensils and food-contact surfaces. Wash produce appropriately, separate raw animal foods from ready-to-eat ingredients, and use clean containers with well-fitting lids. Put moist sauces in leak-resistant small containers rather than letting them soak a sandwich for hours; this improves quality, though it does not replace refrigeration. If packing cooked meat, ensure it was cooked correctly before chilling it. A cold bag does not make undercooked food safe.
Food should be covered during refrigerator storage and transported without exposure to leaking raw meat juices. BfR emphasizes separating raw products from prepared foods and keeping vulnerable foods chilled. BfR — Kitchen Hygiene.
What if you want a hot lunch instead?
A vacuum-insulated food flask can keep freshly cooked food hot, but heat retention depends on the flask, starting temperature and how long it stays sealed. Preheat the flask according to its instructions, fill with piping-hot food and close immediately. The USDA's general hot-holding reference is 140°F (60°C) or above; do not assume a lukewarm container is safe simply because it was hot in the morning. A temperature check or product-specific, validated holding procedure is preferable to guesswork. USDA — Bag Lunch Safety.
Another workable strategy is to transport food cold, put it in a workplace refrigerator and reheat it thoroughly just before eating according to the food and your local authority's advice. Avoid using a half-warm food flask as an improvised alternative to either cold or hot holding.
A checklist for the evening and the morning
| When | Action | Check |
|---|---|---|
| Evening | Cook safely; divide leftovers and chill promptly | Containers shallow enough to cool efficiently |
| Evening | Freeze at least two suitable gel packs | Fully frozen before departure |
| Morning | Transfer chilled food from refrigerator into insulated bag | Food starts cold, not room temperature |
| Morning | Place cooling sources around perishable items | Bag closes properly |
| On arrival | Refrigerate if an accessible fridge exists | Do not leave lunch at a warm workstation |
| Before eating | Assess whether the cold chain was maintained | If not, discard perishable food rather than taste-testing |
Why smell and appearance are not reliable safety checks
Many dangerous microbes do not produce a visible change or an obvious odor. A lunch that looks fresh is not proof that storage was safe. Likewise, a food temperature measured cold now does not establish that it was never left warm for a lengthy period. When time or temperature history is genuinely uncertain, err on the side of discarding high-risk perishable food rather than hoping heating or chilling later will fix earlier mishandling.
Key takeaways and evidence
An insulated bag helps retain cold; it cannot replace frozen cold sources or a refrigerator. Start with chilled food, use at least two frozen cooling sources for packed perishable lunches, refrigerate when possible, and verify conditions for extended trips. Apply jurisdiction-specific temperatures and food-label instructions. The USDA's general two-hour/one-hour rule describes exposure outside safe temperature control; it is not a blanket shelf-life assigned to every lunch box.
Sources: USDA — Keeping Bag Lunches Safe; USDA — School Lunch Packing Essentials; USDA — Safe Handling of Take-Out Foods; BfR — Cooling Foods; BfR — Kitchen Hygiene.