
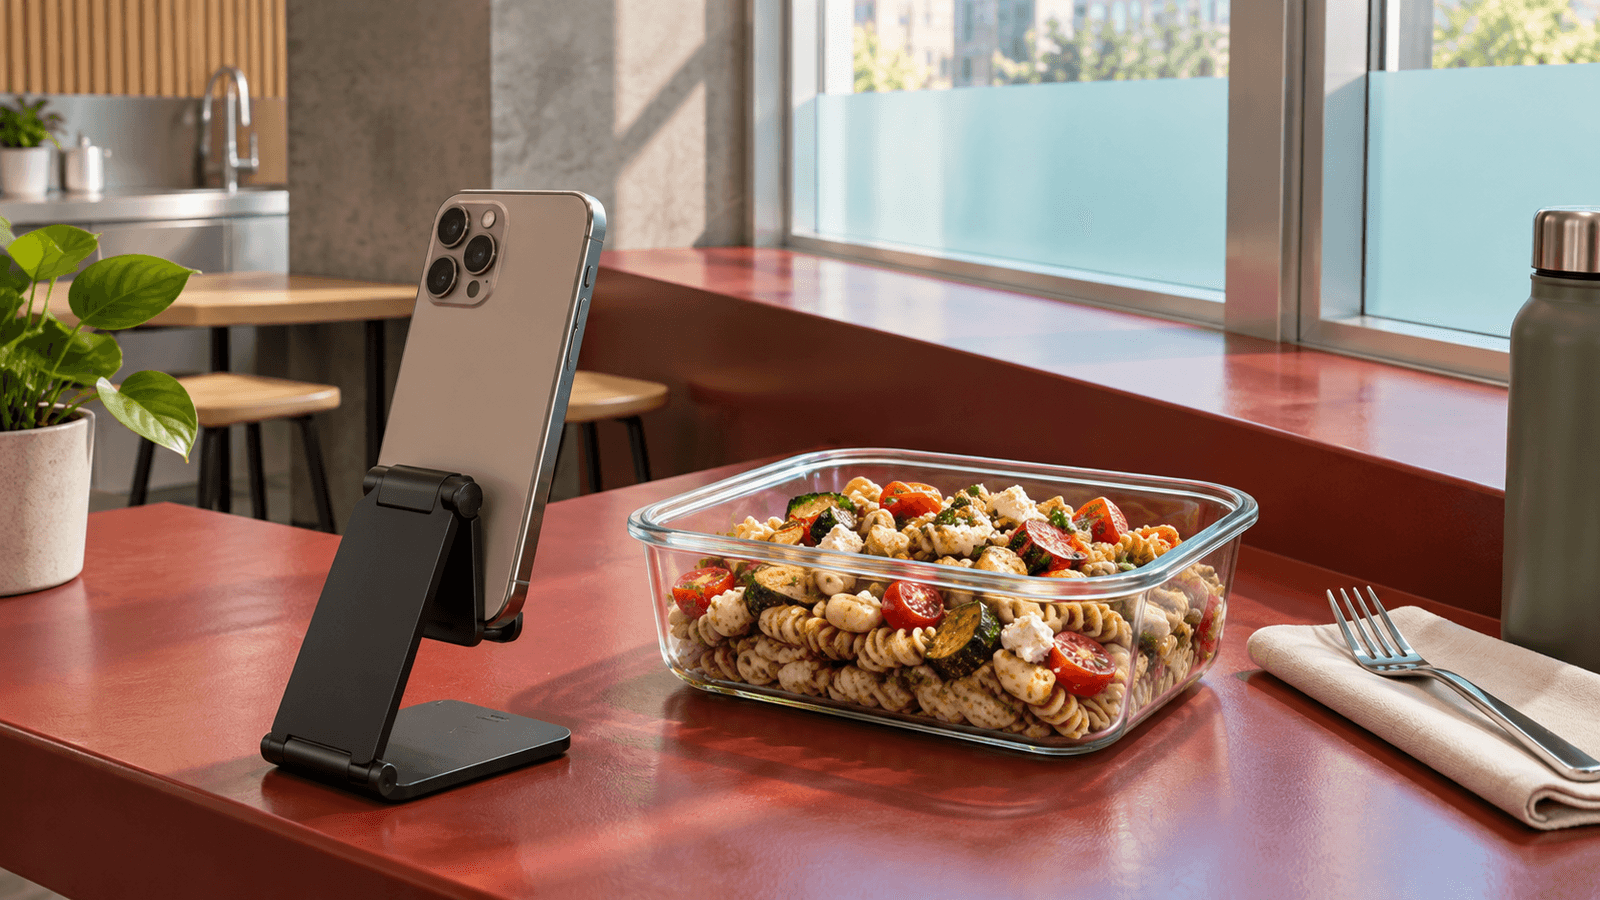
Photo-based food tracking can make calorie logging faster, but the quality of the estimate depends partly on what the camera can actually see.
A clear food photo gives an AI system more useful visual information about:
- the foods present
- approximate portion size
- visible ingredients
- relative scale
- preparation method
- sauces and toppings
You do not need professional food photography.
In most cases, a few simple habits can make a photo much easier to interpret.
Why photo quality matters for AI calorie estimates
An AI calorie tracker generally has to solve several different problems from one image.
It may need to identify the food, separate multiple components and estimate how much of each component is present.
A photograph can show appearance, shape, color and relative size.
But it cannot directly measure the exact weight of the food or reliably reveal every hidden ingredient.
That means the goal is not to create a beautiful photograph.
The goal is to create an informative one.
For an overview of the process, see AI Calorie Trackers: How Photo-Based Food Tracking Works.
1. Make sure the whole meal is visible
Try to keep the complete meal inside the frame.
Avoid accidentally cutting off:
- part of the main dish
- side dishes
- drinks that contain calories
- sauces
- bread
- toppings
If a substantial part of the food is outside the photograph, the system has less information to work with.
You do not need a large amount of empty space around the food.
Simply make sure the important components are visible.
2. Use a useful camera angle
A completely horizontal photograph can hide food behind other food.
A perfectly vertical overhead photograph can make some foods easier to separate but can hide their height.
For many mixed meals, a moderately elevated angle can provide useful information about both surface area and depth.
There is no single perfect angle for every meal.
The best angle depends on the food.
Overhead can work well for
- relatively flat meals
- several clearly separated components
- open bowls
- sandwiches
- pizza
A three-quarter angle can work well for
- foods with meaningful height
- stacked foods
- deep bowls
- burgers
- layered dishes
The important point is visibility.
3. Avoid extremely low angles
A very low camera angle may look dramatic, but it can make portion estimation more difficult.
Food at the front may block food behind it.
The apparent size of nearby ingredients can also become exaggerated.
For tracking, clarity is usually more useful than dramatic perspective.
4. Do not photograph from too far away
If the meal occupies only a small part of the image, useful food detail is lost.
Move close enough that the food is clearly visible.
At the same time, avoid moving so close that parts of the meal are cropped out.
A useful photo normally gives the meal most of the visual attention while preserving enough surrounding context to understand its scale.
5. Keep the camera reasonably level
Strongly tilted photographs can distort relative proportions.
You do not need perfect geometric alignment.
Simply avoid unnecessary extreme camera rotation or perspective.
6. Use good natural light when possible
Soft daylight can make ingredients easier to distinguish.
A location near a window often works well.
You do not need direct sunlight.
In fact, harsh direct sunlight can create:
- deep shadows
- bright reflections
- blown highlights
- strong color shifts
Soft, even light is generally easier to interpret.
7. Avoid very dark photos
When food disappears into shadow, visual information is lost.
Dark sauces may merge with dark plates.
Individual ingredients may become difficult to separate.
If the room is dark, move to a brighter area when practical or use the phone's available exposure controls.
The objective is not maximum brightness.
The food simply needs to remain clearly visible.
8. Avoid severely overexposed photos
Too much exposure can also remove information.
Very bright foods may lose texture and boundaries.
For example:
- rice may become a featureless white area
- yogurt may lose visible shape
- pale sauces may blend into the background
Aim for visible detail in both bright and dark parts of the food.
9. Watch for strong shadows
A large shadow across half the meal can hide ingredients.
This commonly happens when your body or phone blocks a strong overhead or directional light.
If possible, change your position slightly so the food is illuminated more evenly.
10. Be careful with colored lighting
Strongly colored restaurant lighting can change the apparent color of food.
Blue, red, purple or very warm lighting may make ingredients harder to recognize visually.
You do not need perfect studio-white lighting.
But neutral light generally provides better visual information.
11. Keep the image sharp
Motion blur removes detail.
Before taking the photo:
- hold the phone steadily
- allow the camera to focus
- avoid moving immediately as you press the shutter
- make sure the lens is reasonably clean
A slightly dirty phone lens can create haze and reduce contrast.
12. Avoid digital zoom when possible
Heavy digital zoom can reduce useful image detail.
Instead of zooming significantly, move the phone closer when practical.
Keep enough distance to preserve the complete meal in the frame.
13. Show separate meal components clearly
If several foods are present, avoid unnecessary overlap when possible.
For example, if a piece of bread completely covers another component, the hidden food becomes difficult to assess.
You do not need to rearrange your meal into an artificial grid.
The goal is simply to avoid hiding major components.
14. Make sauces and dressings visible
Sauces can materially affect the energy content of a meal.
Examples include:
- creamy sauces
- oil-based dressings
- mayonnaise
- butter
- pesto
- cheese sauces
If a sauce is served separately, include it in the photo if you plan to consume it.
If it has already been mixed into the food, visual estimation becomes more uncertain.
That is normal.
15. Include calorie-containing drinks when relevant
A meal photo may show the food clearly while leaving a drink outside the frame.
If the drink contributes meaningful calories and you want the complete meal estimated, include it or log it separately.
Examples include:
- juice
- milk-based coffee
- smoothies
- soft drinks
- alcoholic drinks
Water does not need to be included for calorie estimation.
16. Give the image some scale context
A photograph does not directly reveal grams.
Relative scale can help.
Ordinary objects already associated with the meal may provide context, such as:
- the plate
- bowl
- fork
- spoon
- cup
You do not need to place a ruler or measuring device beside the food.
Natural meal context is usually more practical.
17. Avoid unusual wide-angle distortion
Very close wide-angle photography can make food near the camera appear disproportionately large.
This can distort the relationship between different components.
Use a normal phone camera view when possible rather than an extreme ultra-wide mode.
18. Photograph transparent containers carefully
Food inside transparent containers can be difficult to interpret when reflections are strong.
Try to avoid photographing directly into a bright reflection.
A slight change in camera position can often reveal the contents more clearly.
19. Be careful with deep bowls
Deep bowls can hide a significant amount of food.
From a very low angle, the bowl rim may block the contents.
A somewhat higher camera position can make the visible quantity easier to understand.
For very deep dishes, a second angle may sometimes provide additional context.
20. Mixed dishes are naturally harder to estimate
Some meals are visually straightforward.
Others contain many ingredients mixed together.
Examples include:
- casseroles
- curries
- soups
- stews
- pasta with sauce
- mixed rice dishes
- homemade bowls
A photograph may show the total portion but not the exact quantity of each ingredient.
For homemade mixed dishes, additional recipe information can improve tracking.
See How to Log Homemade and Mixed Dishes More Accurately.
21. Hidden ingredients remain hidden
A better photograph cannot reveal everything.
The camera may not know exactly how much:
- oil was used during cooking
- butter was added
- sugar is in a sauce
- cheese is inside a dish
- dressing is mixed into a salad
- cream is inside a soup
If you know an important hidden ingredient, adding that information manually can improve the record.
22. Portion estimation is still an estimate
Even a very clear photograph does not turn a camera into a kitchen scale.
Two visually similar portions can have different weights.
Density also matters.
For example, the same visible volume of different foods may contain very different amounts of energy.
Photo tracking is therefore best understood as a convenient estimation method rather than an exact measurement system.
23. Take a second photo when one angle hides important information
Most meals do not require multiple photographs.
But a second image can be useful when:
- the container is deep
- one food covers another
- the meal has several layers
- the first image has strong reflections
- important components are hidden
The second photo should add information rather than simply duplicate the first.
24. Restaurant meals may need extra context
Restaurant dishes can be challenging because:
- cooking fats are unknown
- sauces may be energy-dense
- portions vary
- ingredients may be hidden
- presentation can obscure quantity
A clear photograph still helps.
If a menu description is available, combining it with the image may provide additional context.
25. Photograph before eating when possible
Taking the photo before starting the meal gives the system the complete portion.
If you remember halfway through, a photo can still be useful, but the original amount must then be reconstructed.
A simple habit is:
- Food arrives.
- Take a quick clear photo.
- Continue eating normally.
The process should take only a few seconds.
26. Do not optimize the meal for the camera
You should not need to redesign your food just to make it trackable.
Avoid turning every meal into carefully separated ingredients solely for AI recognition.
A practical tracking system should work with normal meals.
Improve visibility where convenient, but keep the process realistic.
27. What makes a useful AI food photo?
Before taking the picture, check:
- Is the whole meal visible?
- Is the food large enough in the frame?
- Is the image reasonably bright?
- Are major components visible?
- Is the image sharp?
- Are important sauces included?
- Is there severe color lighting?
- Is anything important hidden?
If the answer looks reasonable, the photo is probably good enough.
Common photo mistakes
Photographing from table level
Food behind the front portion may disappear.
Using an ultra-wide lens from very close range
Perspective can exaggerate portions.
Taking the photo in a very dark room
Ingredients lose detail.
Strong direct sunlight
Harsh highlights and shadows can hide information.
Cropping the meal
The system cannot evaluate food that is not visible.
Leaving sauces outside the frame
This can omit an important part of the meal.
Photographing only after eating part of the food
The original portion becomes harder to reconstruct.
Using heavy filters
Filters can change food colors and contrast.
Assuming the photo reveals hidden ingredients
It does not.
Should you use flash?
Flash can be useful in some very dark situations, but it can also create:
- harsh reflections
- strong shadows
- bright highlights
- unnatural food appearance
If soft natural or room light is available, it may produce a more informative image.
The important goal is visibility rather than a particular lighting technique.
Does the background matter?
Usually much less than the food itself.
A simple background can reduce visual distraction, but you do not need a special photography setup.
Make sure the food remains visually distinct from its surroundings.
Do you need a reference object in every photo?
No.
A familiar plate, bowl or utensil may already provide useful scale context.
Artificially adding measurement objects to every photograph would make everyday tracking unnecessarily complicated.
Is one photo enough?
For many ordinary meals, yes.
A second angle can be useful when the first image hides important information.
The goal is not to create a complete photographic record.
It is to provide enough visual information for a useful estimate.
Can a better photo make calorie tracking exact?
No.
Better images can provide better visual information, but important uncertainties remain.
These include:
- exact weight
- hidden ingredients
- cooking oil
- recipe proportions
- food density
- restaurant preparation
Treat photo-based calorie estimates as estimates.
How Mealisa can use food photos
Mealisa is designed to reduce the amount of manual input needed for food tracking.
A food photo can provide visual information about:
- likely food type
- visible meal components
- approximate portion relationships
- meal context
When additional information is available, such as a recipe, nutrition label, barcode or menu description, that information can complement the photograph.
The aim is not to pretend that a photo provides laboratory-level precision.
It is to make everyday food logging faster and more practical.
Quick checklist before taking a food photo
- Show the whole meal.
- Move close enough for useful detail.
- Use a moderate angle that reveals the food.
- Keep major components visible.
- Use reasonably neutral, sufficient light.
- Avoid strong shadows and reflections.
- Keep the image sharp.
- Include relevant sauces and calorie-containing drinks.
- Avoid extreme ultra-wide distortion.
- Take the photo before eating when possible.
That is usually enough.
You do not need a photography studio.
Frequently asked questions
What is the best angle for an AI food photo?
There is no universal best angle. Overhead views can work well for flat or separated foods, while a moderately elevated three-quarter view can show depth more clearly for bowls and layered foods.
Should I photograph every ingredient separately?
Usually not. Photograph the meal naturally. Additional information may help when ingredients are hidden or heavily mixed.
Should I include the plate?
Yes, if the food is served on one. Normal serving objects can provide useful visual context.
Should I take photos in daylight?
Soft daylight is often useful because it provides relatively neutral, even illumination, but a clear image under good indoor lighting can also work.
Does a blurry photo affect the estimate?
It can remove visual detail that might otherwise help identify foods and boundaries.
Should I use portrait or landscape orientation?
Use whichever orientation allows the full meal to be visible clearly. The important issue is useful visual information, not the orientation itself.
Can AI determine exact portion weight from a photo?
A single ordinary photograph generally does not provide exact weight. Portion size remains an estimate unless additional measurement information is available.
What if the meal contains a lot of sauce?
Make the sauce visible where possible and provide additional information if you know what it contains.
Should I take multiple photos?
Usually one clear photo is enough. A second angle can help when important parts of the meal are hidden.
The bottom line
Better food photos for AI calorie estimates are not about making food look beautiful.
They are about making the meal easy to see.
Keep the full meal in frame, use sufficient neutral light, avoid extreme angles and distortion, keep the image sharp and make important components visible.
Include sauces and other calorie-containing items when relevant.
For complicated mixed dishes, provide additional information when you have it.
Most importantly, keep the process quick enough that you can use it consistently.
A clear everyday photograph is more useful than a perfect photograph that is too inconvenient to take.
Photo-based calorie estimates are estimates and may differ from actual energy content. This article provides general information and is not medical or dietetic advice.