
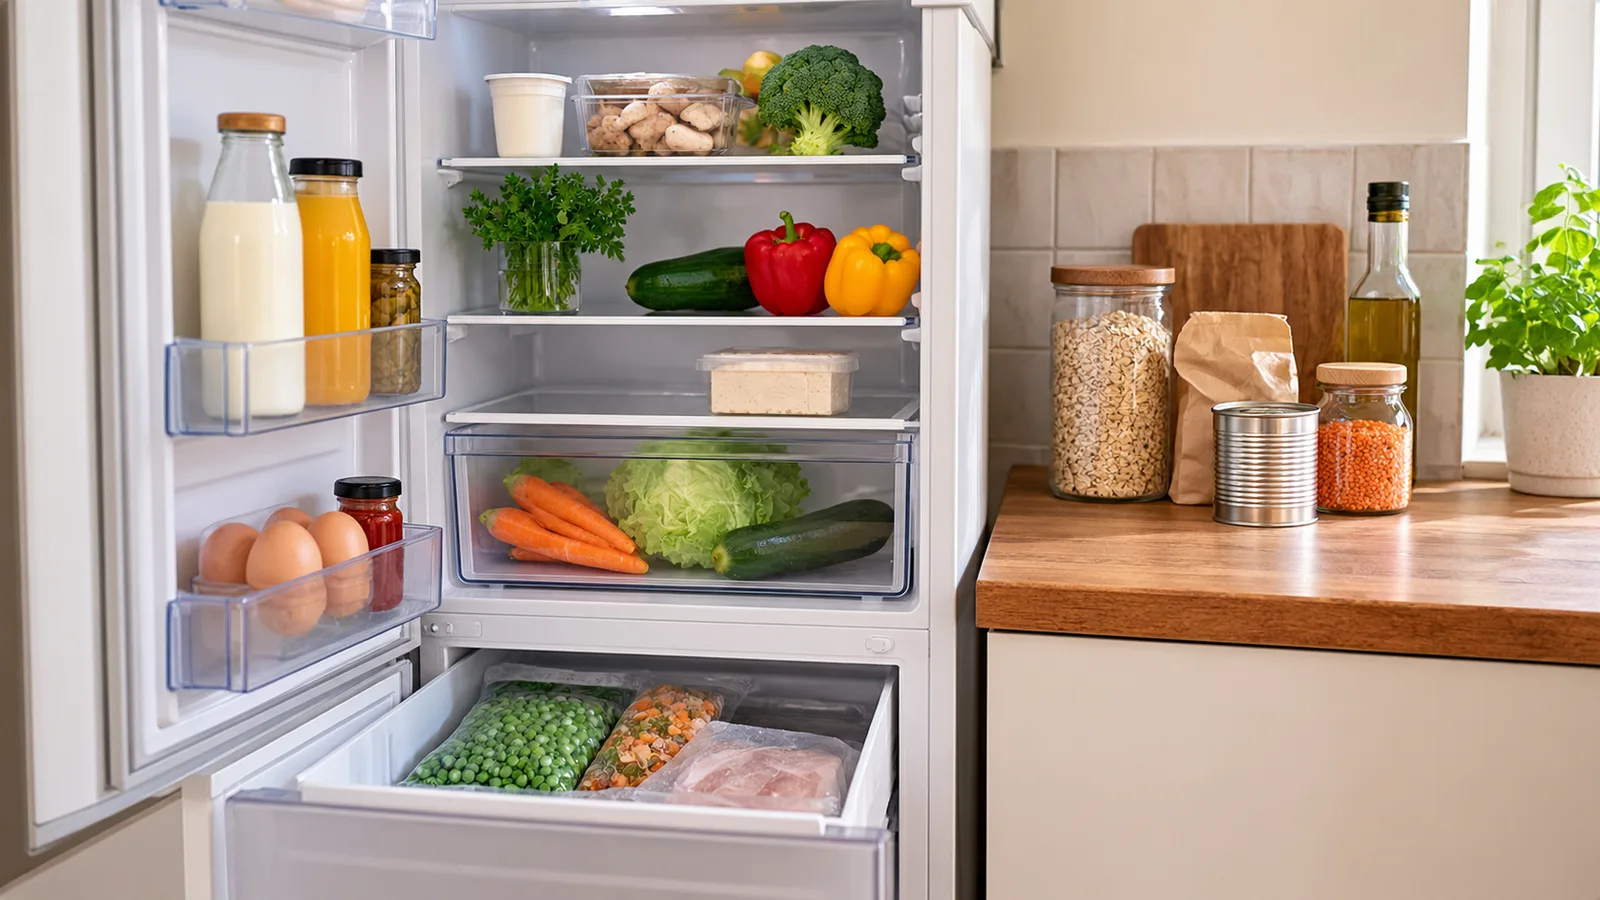
Shopping for groceries once every two weeks can save time and reduce repeated store visits. But a successful 14-day meal plan requires more than buying twice as much food as usual.
Fresh vegetables have different storage lives. Some proteins need freezing immediately. Bread may become stale before the second week. And a plan that looks perfect on paper can fail if every meal requires fresh ingredients on day twelve.
The most reliable approach is to plan the first week around perishable foods and the second week around frozen, canned and longer-lasting ingredients.
This guide explains how to build that system, with a practical two-week menu, example shopping quantities and storage rules.
The four parts of a successful two-week plan
A realistic 14-day plan needs four connected decisions.
| Decision | What to do |
|---|---|
| Meal schedule | Choose flexible meals for all 14 days |
| Ingredient lifespan | Use fragile fresh foods first |
| Freezer strategy | Freeze suitable proteins, bread and prepared meals early |
| Backup meals | Keep several shelf-stable options for unexpected changes |
The goal is not to cook every meal on shopping day.
It is to make sure the food required for later meals remains safe and usable.
Step 1: Count how many meals you actually need
Before creating a shopping list, check your calendar.
For example, a household of two might plan:
- 14 breakfasts at home.
- 10 lunches per person at home.
- 12 dinners at home.
- Two dinners outside.
- Several flexible snacks.
That is different from assuming every person will eat three home-cooked meals every day.
Also consider leftovers, work lunches, social plans and existing pantry ingredients.
A two-week plan works best when it reflects real eating habits rather than an idealized schedule.
Step 2: Divide the 14 days into three food windows
Instead of planning by recipe alone, organize ingredients by how quickly they should be used.
Days 1–4: Most perishable ingredients
Prioritize:
- Delicate salad leaves.
- Fresh berries.
- Fresh fish that has not been frozen.
- Fresh herbs.
- Opened products with short use-by instructions.
Cook or freeze highly perishable foods promptly.
Do not assume that every fresh ingredient will remain safe for four days. Follow product dates, refrigeration requirements and actual condition.
Days 5–7: More durable refrigerated foods
Examples include:
- Cabbage.
- Carrots.
- Some peppers.
- Eggs.
- Firm vegetables.
- Refrigerated foods that remain within their use-by dates.
Actual storage life varies with freshness, packaging and refrigerator temperature.
Days 8–14: Frozen and shelf-stable ingredients
Base later meals on:
- Frozen vegetables.
- Frozen fish or meat.
- Frozen bread.
- Dry pasta, rice and grains.
- Canned beans and tomatoes.
- Lentils and other dried legumes.
- Suitable long-life dairy or plant-based products.
This structure reduces dependence on produce remaining fresh for an unrealistic amount of time.
Step 3: Build a flexible 14-day dinner menu
The following example is designed for two adults.
It provides a dinner framework, not a complete individualized nutrition prescription.
| Day | Dinner | Main storage strategy |
|---|---|---|
| 1 | Salmon, potatoes and green salad | Use fresh fish and leaves early |
| 2 | Chicken and vegetable stir-fry with rice | Cook fresh ingredients |
| 3 | Pasta with tomato sauce and mushrooms | Use refrigerated mushrooms |
| 4 | Chickpea salad with bread and feta | Use fresh vegetables |
| 5 | Turkey chili with beans | Cook and freeze extra portions |
| 6 | Vegetable omelet with potatoes | Use eggs and durable vegetables |
| 7 | Lentil soup with bread | Pantry ingredients |
| 8 | Frozen fish with rice and broccoli | Thaw fish safely |
| 9 | Bean burrito bowls | Canned beans and frozen vegetables |
| 10 | Chicken curry with rice | Previously frozen chicken |
| 11 | Pasta with lentil tomato sauce | Shelf-stable ingredients |
| 12 | Vegetable fried rice with eggs | Frozen vegetables and freshly cooked rice |
| 13 | Frozen homemade chili with potatoes | Reheat a frozen portion |
| 14 | Chickpea and spinach stew | Canned chickpeas and frozen spinach |
The order can change.
For example, if you unexpectedly eat out on day three, move the mushroom pasta earlier rather than postponing fresh mushrooms until the second week.
The plan should adapt to food condition and safety, not force ingredients into a fixed calendar.
Step 4: Plan breakfasts and lunches with repeatable building blocks
You do not need 28 different breakfast and lunch recipes.
Use a small number of combinations that share ingredients.
Breakfast options
- Oatmeal with frozen berries.
- Eggs with toast.
- Yogurt or skyr with oats and fruit.
- Peanut butter toast and a banana.
- Overnight oats prepared in small batches.
For the second week, use frozen fruit, suitable longer-lasting products or ingredients that remain within their storage dates.
Lunch options
- Leftover chili or soup.
- Rice and bean bowls.
- Pasta with vegetables.
- Egg sandwiches.
- Lentil salads.
- Frozen portions of previously cooked meals.
Avoid storing all cooked lunches in the refrigerator for 14 days.
Freeze portions intended for later in the plan.
Step 5: Build the grocery list by storage category
The example below covers many of the meals above for two adults.
It is an illustrative starting point, not a precise nutritional prescription or a guaranteed 14-day shopping list.
| Category | Example quantity |
|---|---|
| Chicken | 800–1,000 g |
| Salmon or other fresh fish | 300–400 g |
| Frozen fish | 400–500 g |
| Ground turkey | 400–500 g |
| Eggs | 18–24 |
| Dry rice | 1 kg |
| Dry pasta | 750 g |
| Oats | 750 g |
| Dry lentils | 500 g |
| Canned beans and chickpeas | 8–10 cans |
| Canned tomatoes | 5–6 cans |
| Potatoes | 2 kg |
| Carrots | 1 kg |
| Cabbage | 1 small head |
| Peppers | 5–6 |
| Onions | 1 kg |
| Fresh salad leaves | 1 package |
| Mushrooms | 250–300 g |
| Frozen broccoli | 750 g |
| Frozen spinach | 500 g |
| Frozen mixed vegetables | 1 kg |
| Frozen berries | 750 g |
| Bread or tortillas | Enough for planned meals; freeze part |
| Yogurt or skyr | According to breakfasts and use-by dates |
Adjust quantities for body size, energy needs, household size, snacks, meals away from home and existing pantry supplies.
A shopping list should be calculated from the actual recipes selected, not copied blindly from a generic template.
Step 6: Freeze food on the day it is bought
Freezing is central to a two-week shopping system.
When you return from the store:
- Put refrigerated and frozen foods away promptly.
- Check use-by dates.
- Divide meat and fish into meal-sized portions.
- Freeze items intended for the second week while they are still safe and fresh.
- Label packages with contents and freezing dates.
- Freeze part of the bread supply.
- Leave enough refrigerator space for safe airflow.
Do not wait until food is close to spoiling before deciding to freeze it.
Freezing maintains food safety when handled correctly, but it does not make spoiled food safe again.
Step 7: Store food according to actual requirements
The following principles are especially important.
Refrigerator
Keep the refrigerator at approximately 4°C / 40°F or colder, consistent with common US food-safety recommendations.
Follow the product's storage instructions and use-by dates.
Freezer
A freezer temperature of approximately −18°C / 0°F is the standard recommendation for long-term frozen storage.
Raw meat and fish
Keep raw animal products separate from ready-to-eat foods to prevent cross-contamination.
Use refrigerated products promptly or freeze them according to their instructions.
Cooked leftovers
Refrigerate perishable cooked foods within two hours, or within one hour in very hot conditions.
As a general US guideline, properly handled cooked leftovers can often be refrigerated for three to four days.
Freeze portions intended for later.
Thawing
Thaw frozen meat and fish safely, preferably in the refrigerator.
Do not leave them at room temperature for prolonged periods.
These are general guidelines. Specific product instructions and local food-safety advice take priority.
Step 8: Use a two-stage preparation system
Trying to prepare all 14 days of meals at once is often impractical.
A more manageable approach has two stages.
Shopping day: 45–90 minutes of organization
- Check and organize refrigerator space.
- Portion and freeze proteins.
- Wash or prepare suitable vegetables when appropriate.
- Cook one batch meal if time allows.
- Freeze several meal portions.
- Write down which ingredients must be used first.
Day 7: 30–60 minutes of preparation
- Check remaining refrigerated foods.
- Move the next day's frozen protein to the refrigerator to thaw.
- Prepare a fresh batch of rice, pasta or grains if needed.
- Cook another batch meal.
- Review the remaining seven dinners.
This reduces food waste without requiring an entire day of meal preparation.
What should you avoid buying for the second week?
Be cautious about relying on:
- Delicate salad leaves.
- Fresh berries that have not been frozen.
- Highly perishable seafood.
- Opened refrigerated foods with short storage instructions.
- Prepared salads with short use-by dates.
- Fresh herbs that deteriorate quickly.
You can still buy these foods.
Just schedule them early or use suitable frozen alternatives for later meals.
How to avoid wasting fresh vegetables
Give every fresh vegetable a specific purpose before shopping.
For example:
| Ingredient | First use | Second use |
|---|---|---|
| Bell peppers | Chicken stir-fry | Chili |
| Carrots | Soup | Curry |
| Cabbage | Salad | Stir-fry |
| Mushrooms | Pasta | Omelet |
| Onions | Chili | Lentil stew |
Shared ingredients are useful, but only when the quantities match the recipes.
Buying one oversized package for a single small recipe can still create waste.
How much freezer space do you need?
There is no universal freezer size required for a two-week plan.
The amount depends on how much food you freeze, whether you use frozen vegetables, and how many people you feed.
Before shopping, check whether you have room for:
- Several protein portions.
- Frozen vegetables.
- Bread.
- A few prepared meals.
- Any frozen foods already in storage.
If freezer space is limited, rely more on dry grains, canned beans, canned fish and other shelf-stable foods.
Do not overfill the freezer so much that its normal operation is compromised.
Can one grocery trip every two weeks save money?
It can, but the savings are not automatic.
Potential benefits include fewer impulse purchases, fewer transport trips and better use of planned ingredients.
Potential disadvantages include buying too much, throwing away spoiled food and spending more on unnecessary bulk packages.
A simple way to evaluate the system is:
Two-week grocery cost + food wasted + shopping transport cost.
Compare that with the same categories from your previous shopping routine.
The best shopping frequency is the one that fits your household and reduces total cost without compromising food quality or safety.
What if the plan changes?
Build flexibility into the second week.
Keep at least two backup meals that require only pantry or frozen ingredients.
Examples:
- Pasta with canned tomatoes and lentils.
- Rice with frozen vegetables and eggs.
- Chickpea curry.
- Bean soup.
If you unexpectedly eat out, move perishable meals forward.
If you have more leftovers than expected, freeze them promptly and remove a planned meal from the schedule.
The plan should guide decisions, not create pressure to eat food that is no longer safe.
Common mistakes
Buying 14 days of delicate fresh produce.
Some ingredients will not remain usable for that long.
Leaving second-week proteins in the refrigerator.
Freeze them promptly unless the packaging and dates clearly support the planned storage period.
Cooking all meals and refrigerating them for two weeks.
Cooked leftovers generally need freezing for that duration.
Ignoring existing pantry food.
This leads to unnecessary spending and duplicate purchases.
Planning every meal with completely different ingredients.
A small number of shared ingredients simplifies shopping.
Not checking freezer capacity.
The plan can fail if there is nowhere to store later-week ingredients.
Treating the menu as fixed.
Meal order should change when freshness or schedules change.
A reusable 14-day planning checklist
Before shopping:
- Count meals at home.
- Check pantry, refrigerator and freezer.
- Choose four to six flexible dinner patterns.
- Place fragile ingredients in the first few days.
- Plan frozen and shelf-stable meals for the second week.
- Calculate quantities from recipes.
- Check freezer space.
- Write a categorized shopping list.
After shopping:
- Refrigerate and freeze perishables promptly.
- Portion proteins.
- Label frozen foods.
- Identify ingredients to use first.
- Review the plan halfway through the two weeks.
Sources
- FDA: Safe Food Handling — food storage and handling.
- USDA Food Safety and Inspection Service — freezing, thawing and leftover guidance.
- FoodSafety.gov — cold food storage charts.
- European Food Safety Authority — foodborne illness prevention.
Make the second week easier than the first
The best two-week meal plan does not depend on keeping everything fresh for 14 days.
Use delicate foods early, freeze ingredients intended for later and build flexible meals around reliable pantry staples.
With realistic portions, a clear storage strategy and a few backup meals, one grocery trip every two weeks can become a manageable routine rather than a food-waste problem.